


Picture this: you’re out at a trade show and spot a great new product or company and immediately take a photo. So how do you get this image sent to your colleagues in seconds? Sending photos via email is a common task, but it can be surprisingly confusing if you’re using a new email platform or sending from a phone.
In this how to attach a photo to an email guide, we’ll show you the process of attaching photos to emails on computers and mobile devices. You’ll also learn tips for handling multiple images, avoiding common mistakes, and ensuring your photos are sent efficiently.
How to attach a photo to an email on a computer
Attaching a photo to an email on a desktop or laptop is usually straightforward, but the exact steps will depend on your email platform. Below are instructions for the most widely-used platforms.
Gmail (web browser)
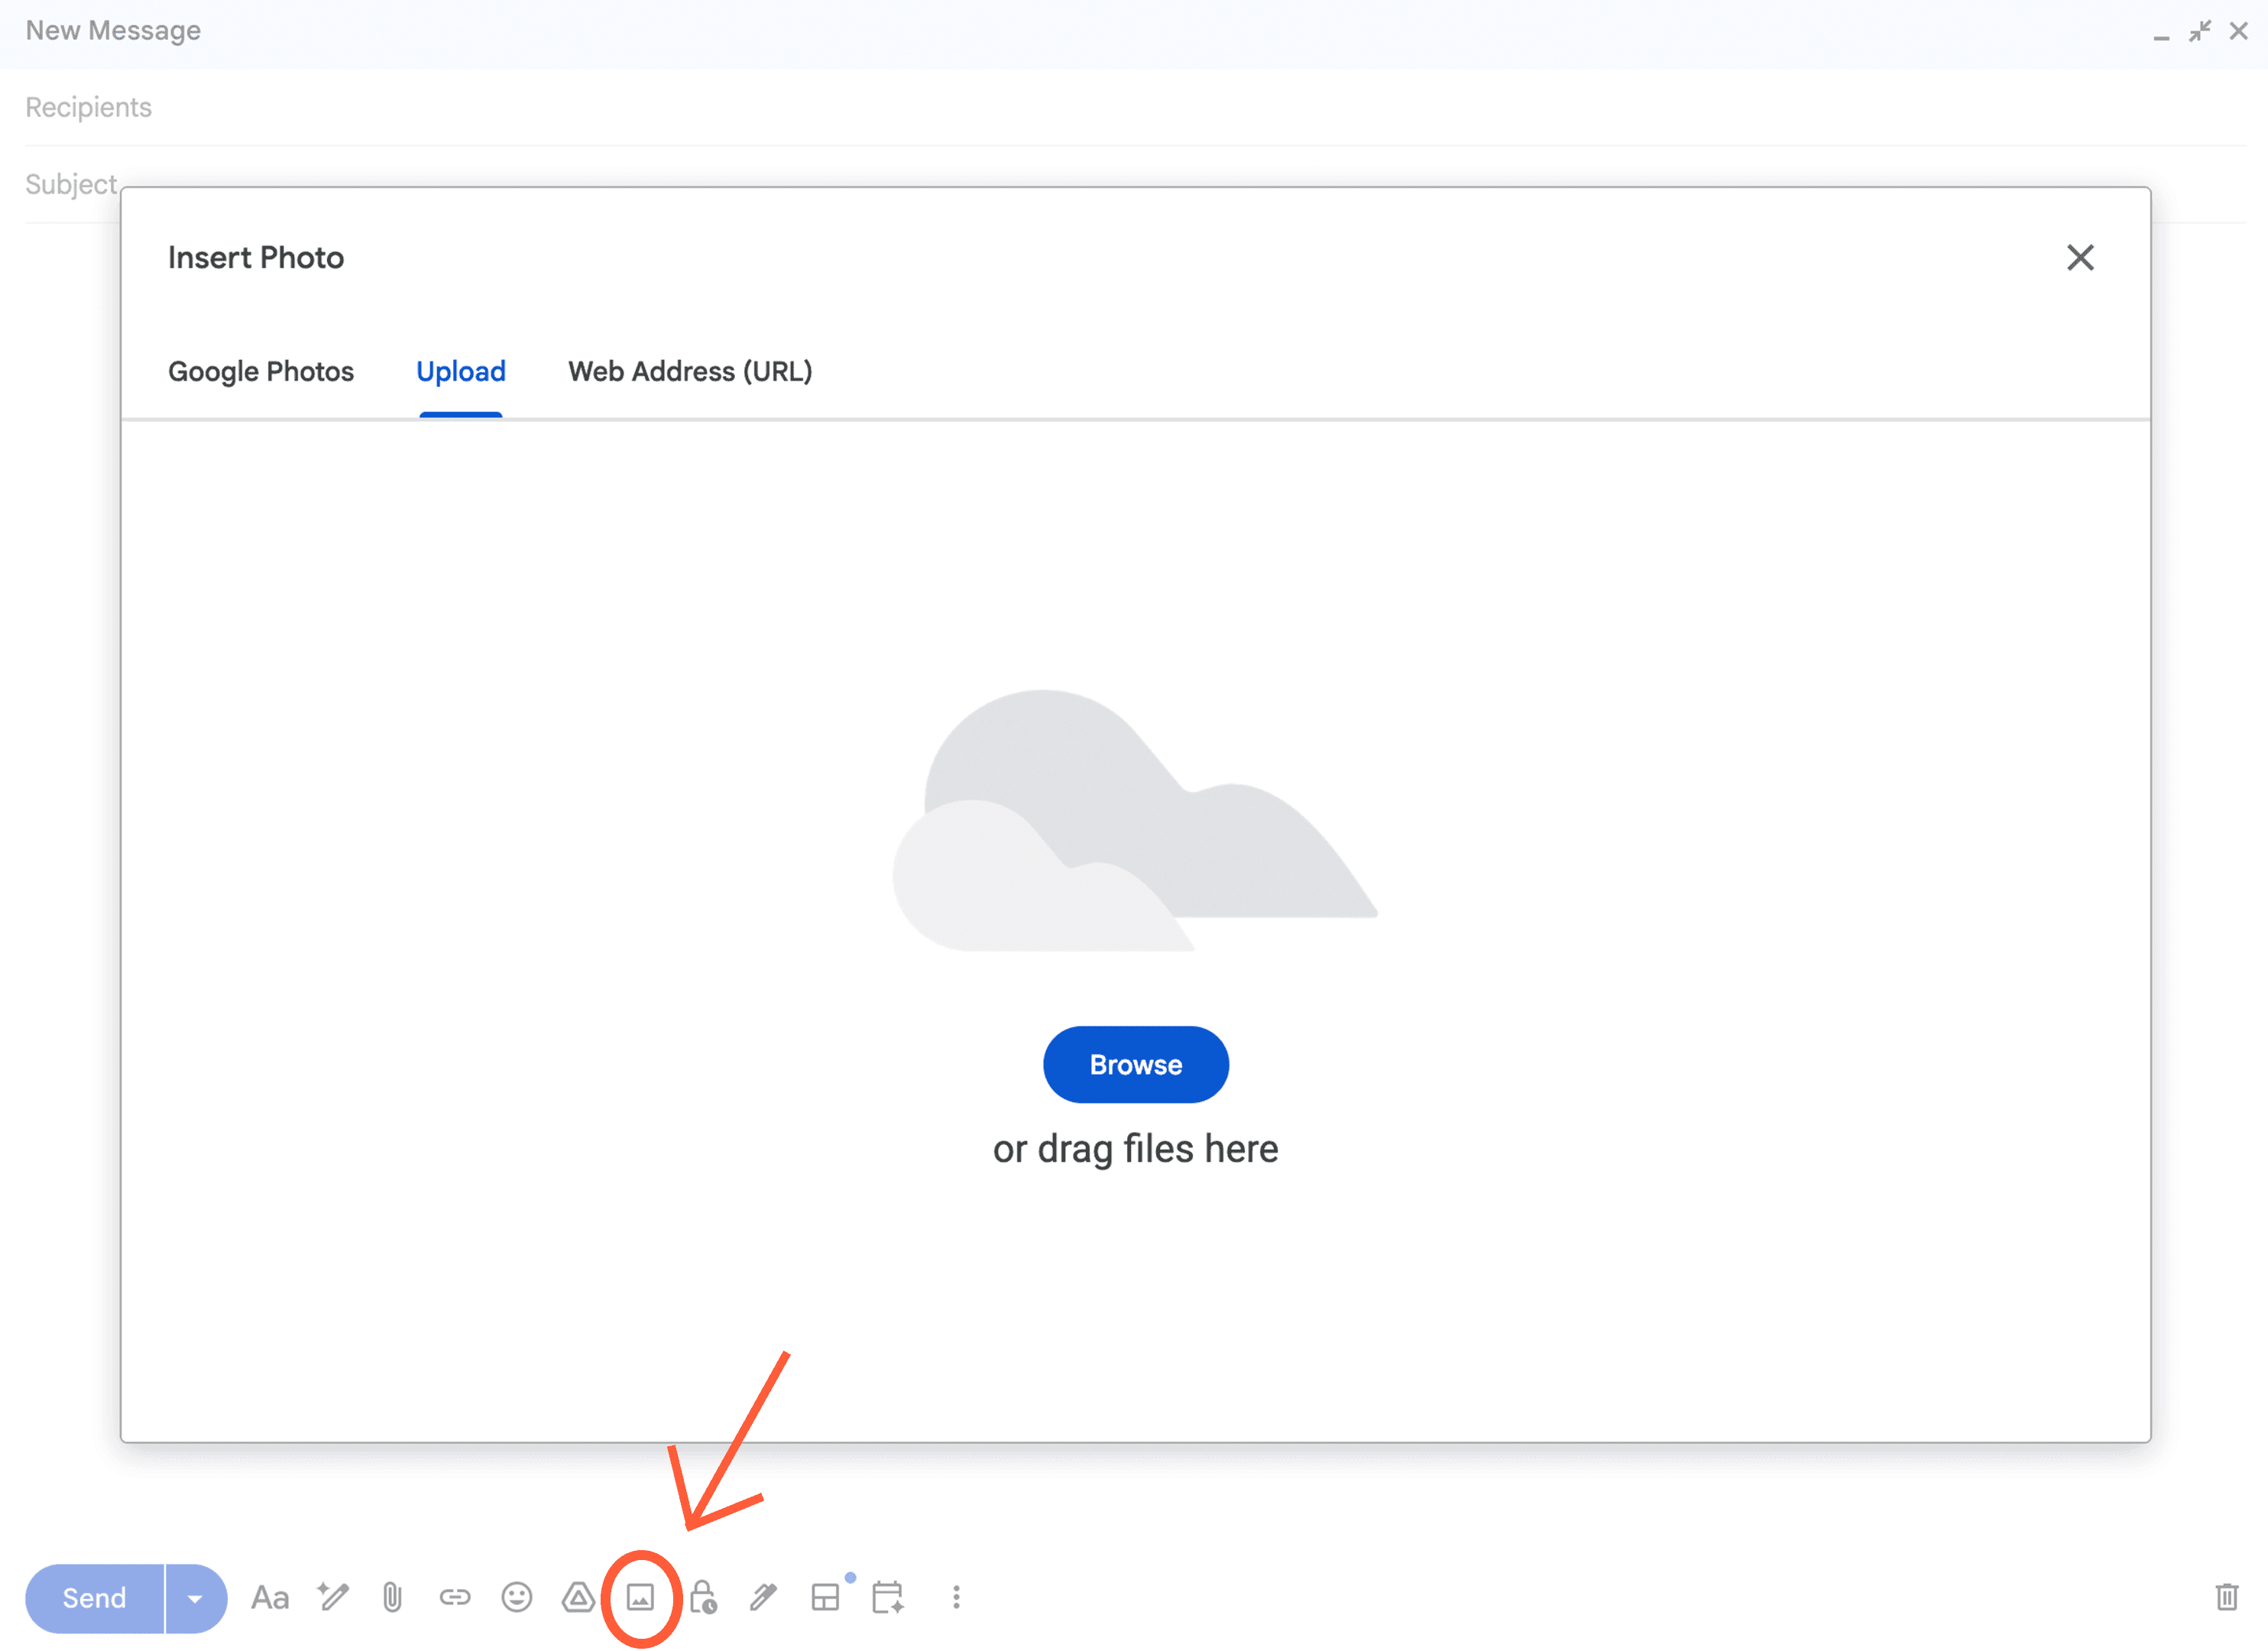
Step 1: Open Gmail and click Compose to create a new email.
Step 2: Click the paperclip icon at the bottom of the compose window.
Step 3: Select the photo from your computer’s files.
Step 4: Wait for the upload to complete and click Send.
Tip: You can attach multiple photos by holding Ctrl (Windows) or Command (Mac) while selecting images.
Outlook (desktop app)
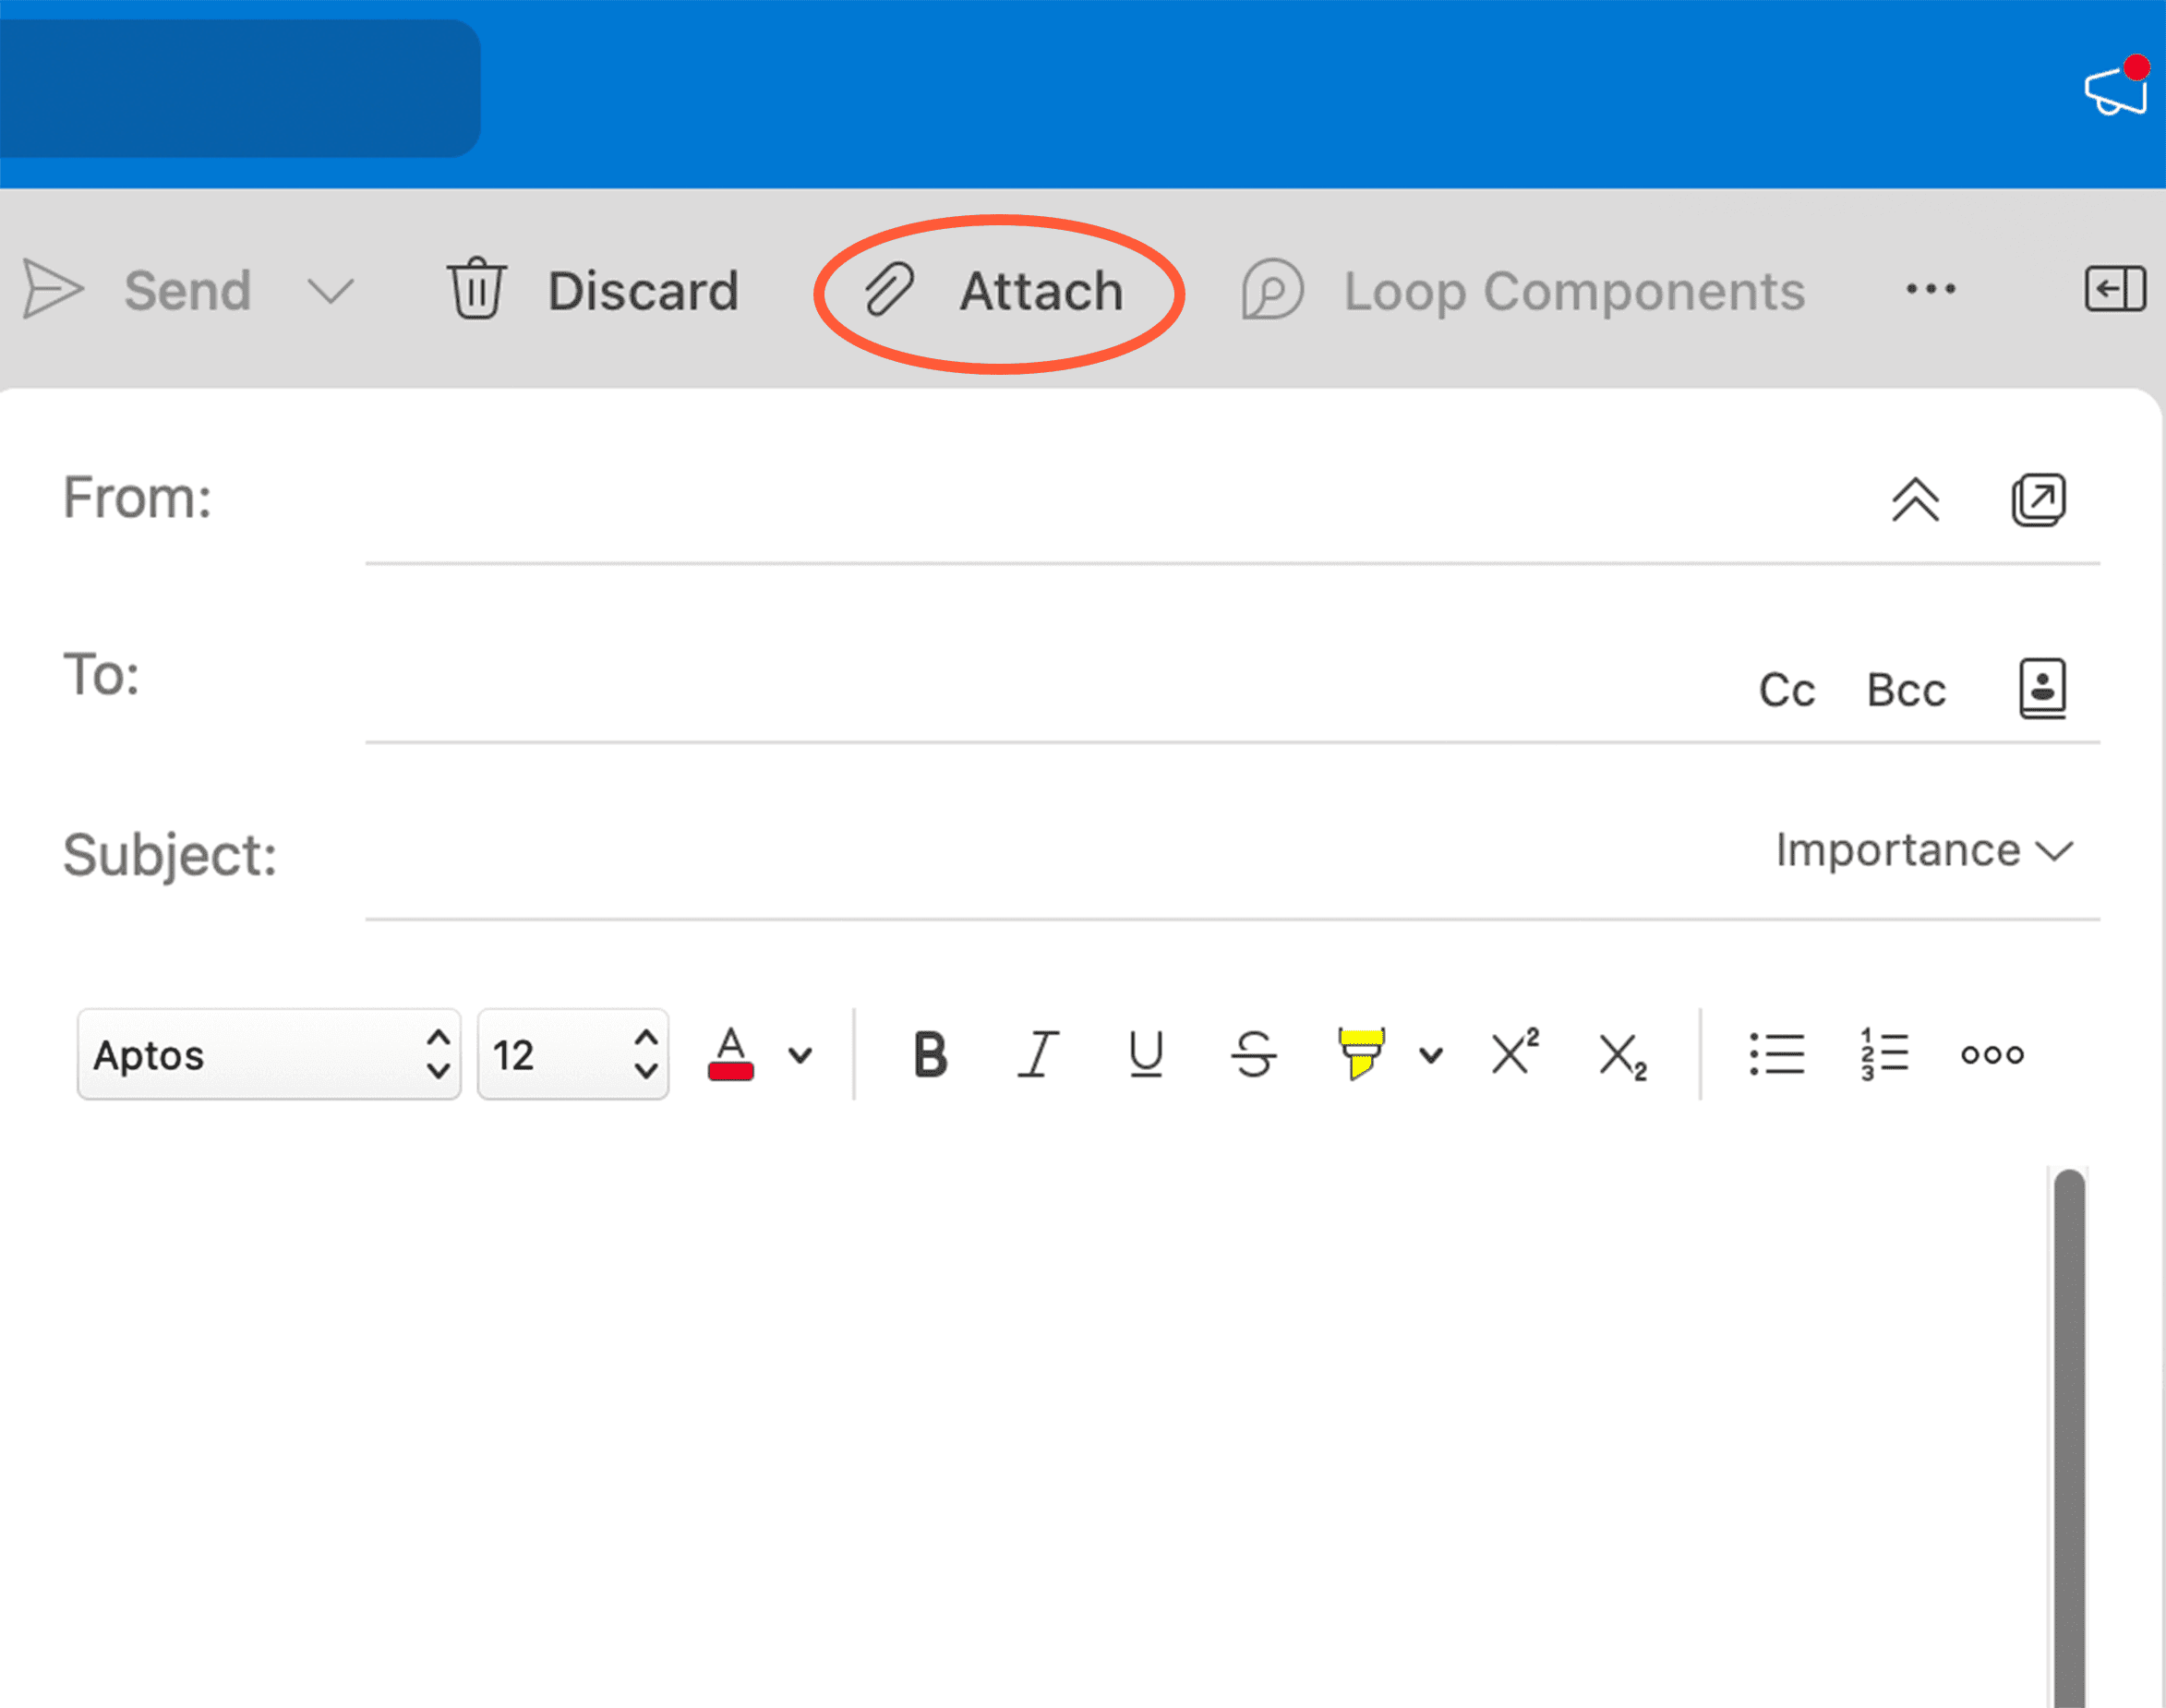
Step 1: Open Outlook and click New Email.
Step 2: Click the Attach File button on the ribbon.
Step 3: Browse your computer for the photo and select it.
Step 4: Click Insert, then send the email.
Tip: For professional emails, attach images in standard formats like JPEG or PNG to ensure compatibility that they’re easy for the recipient to open and download.
Apple Mail (Mac)
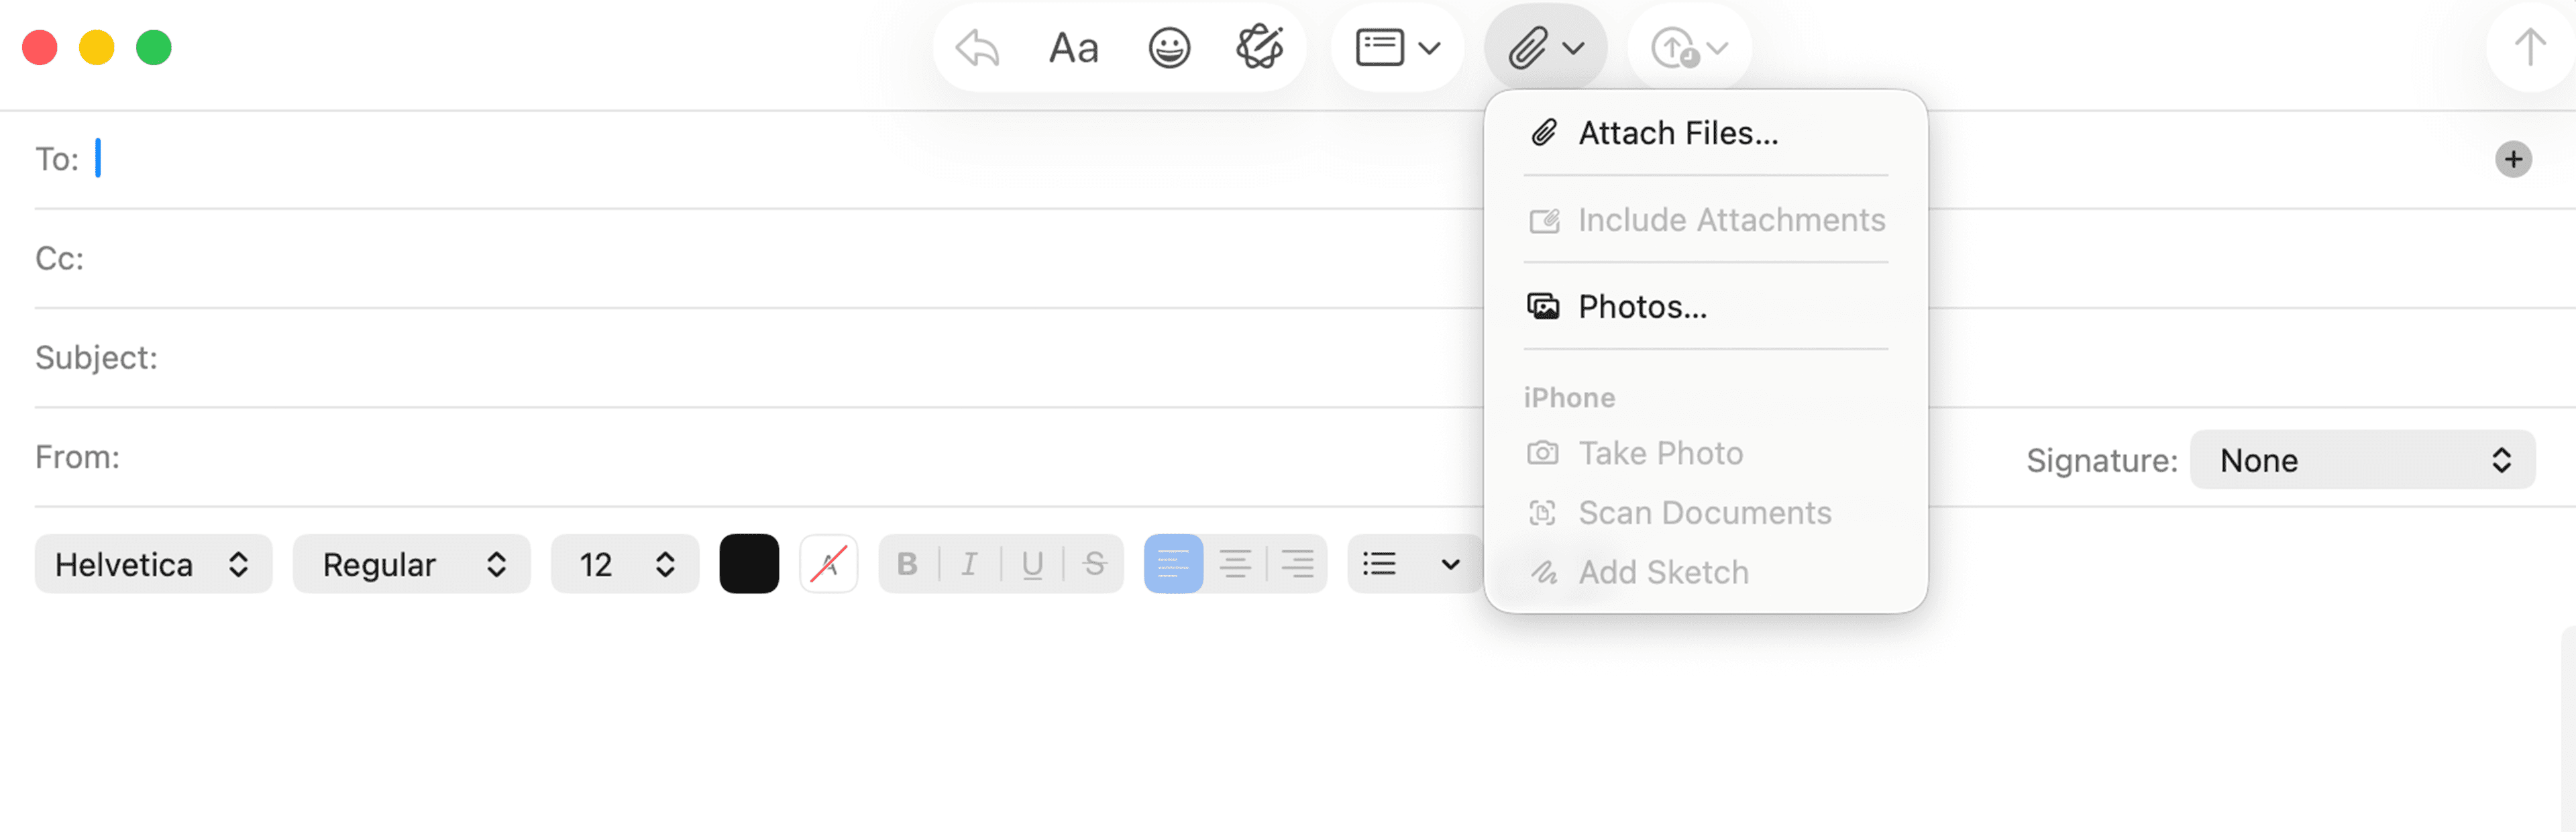
Step 1: Open Apple Mail and click New Message.
Step 2: Click the Attach button (paperclip icon) in the toolbar.
Step 3: Select your photo and click Choose File.
Step 4: Finish composing your message and click Send.
Tip: Apple Mail also supports drag-and-drop; you can drag a photo from Finder directly into the email body.
How to attach a photo to an email on a phone
Mobile devices make it easy to attach photos, but steps are slightly different between iPhone and Android.
iPhone (iOS Mail/Gmail app)
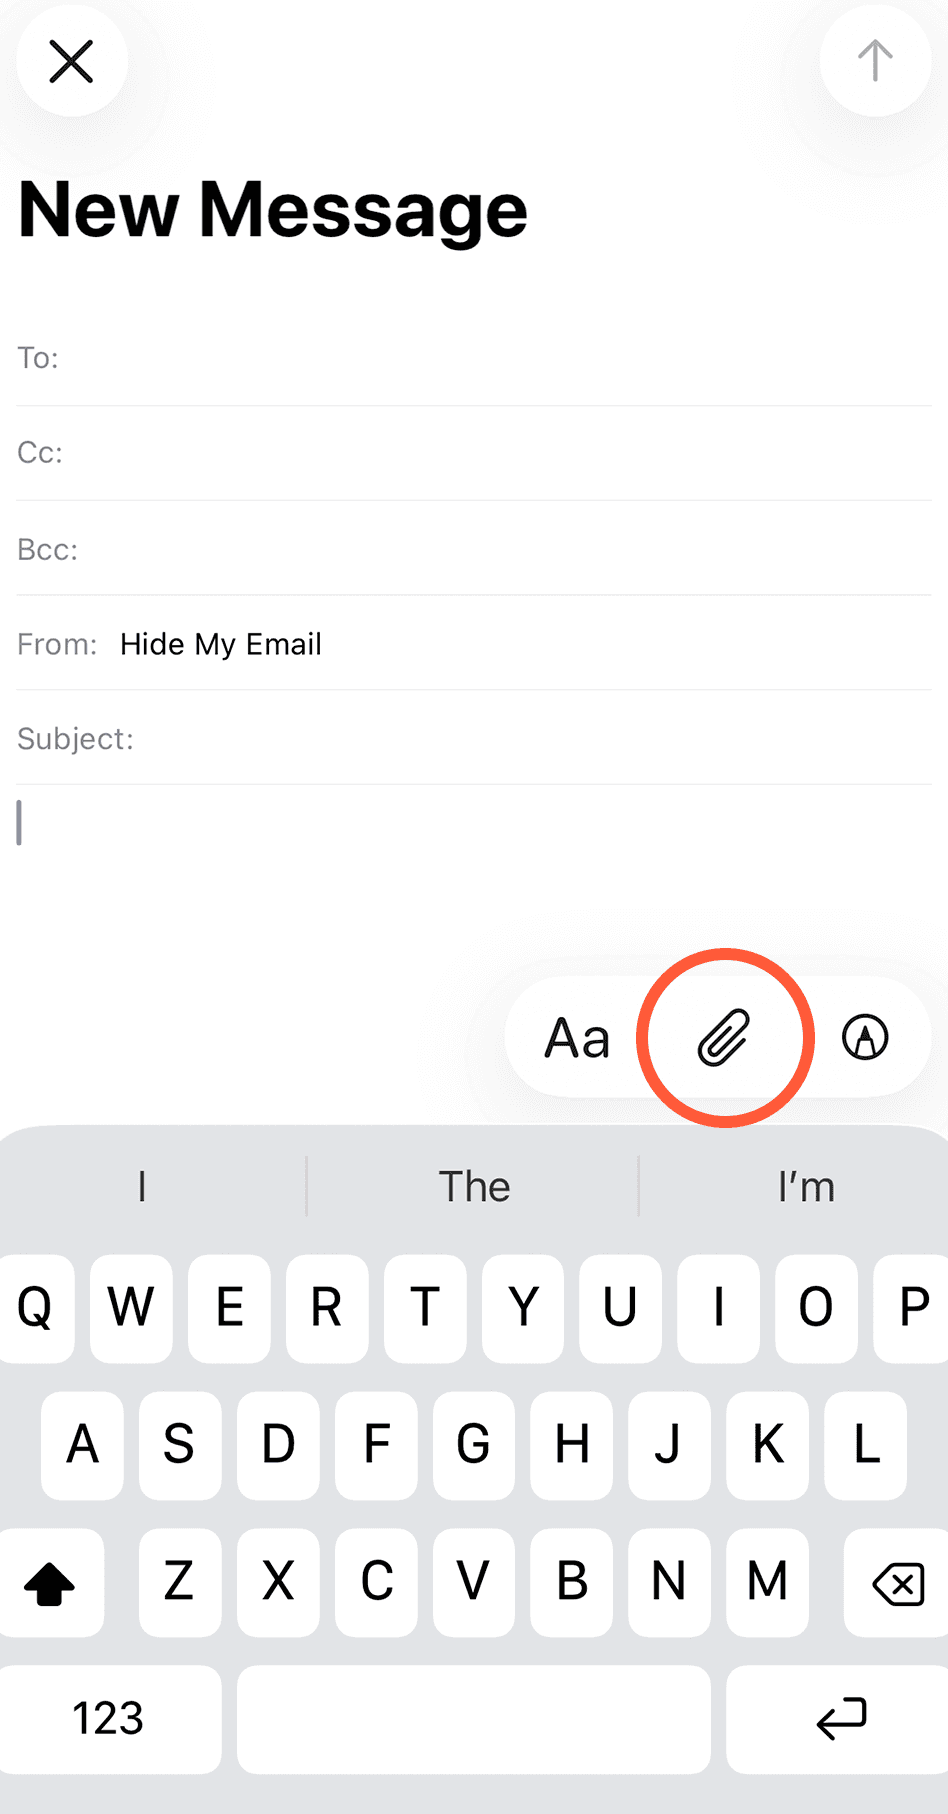
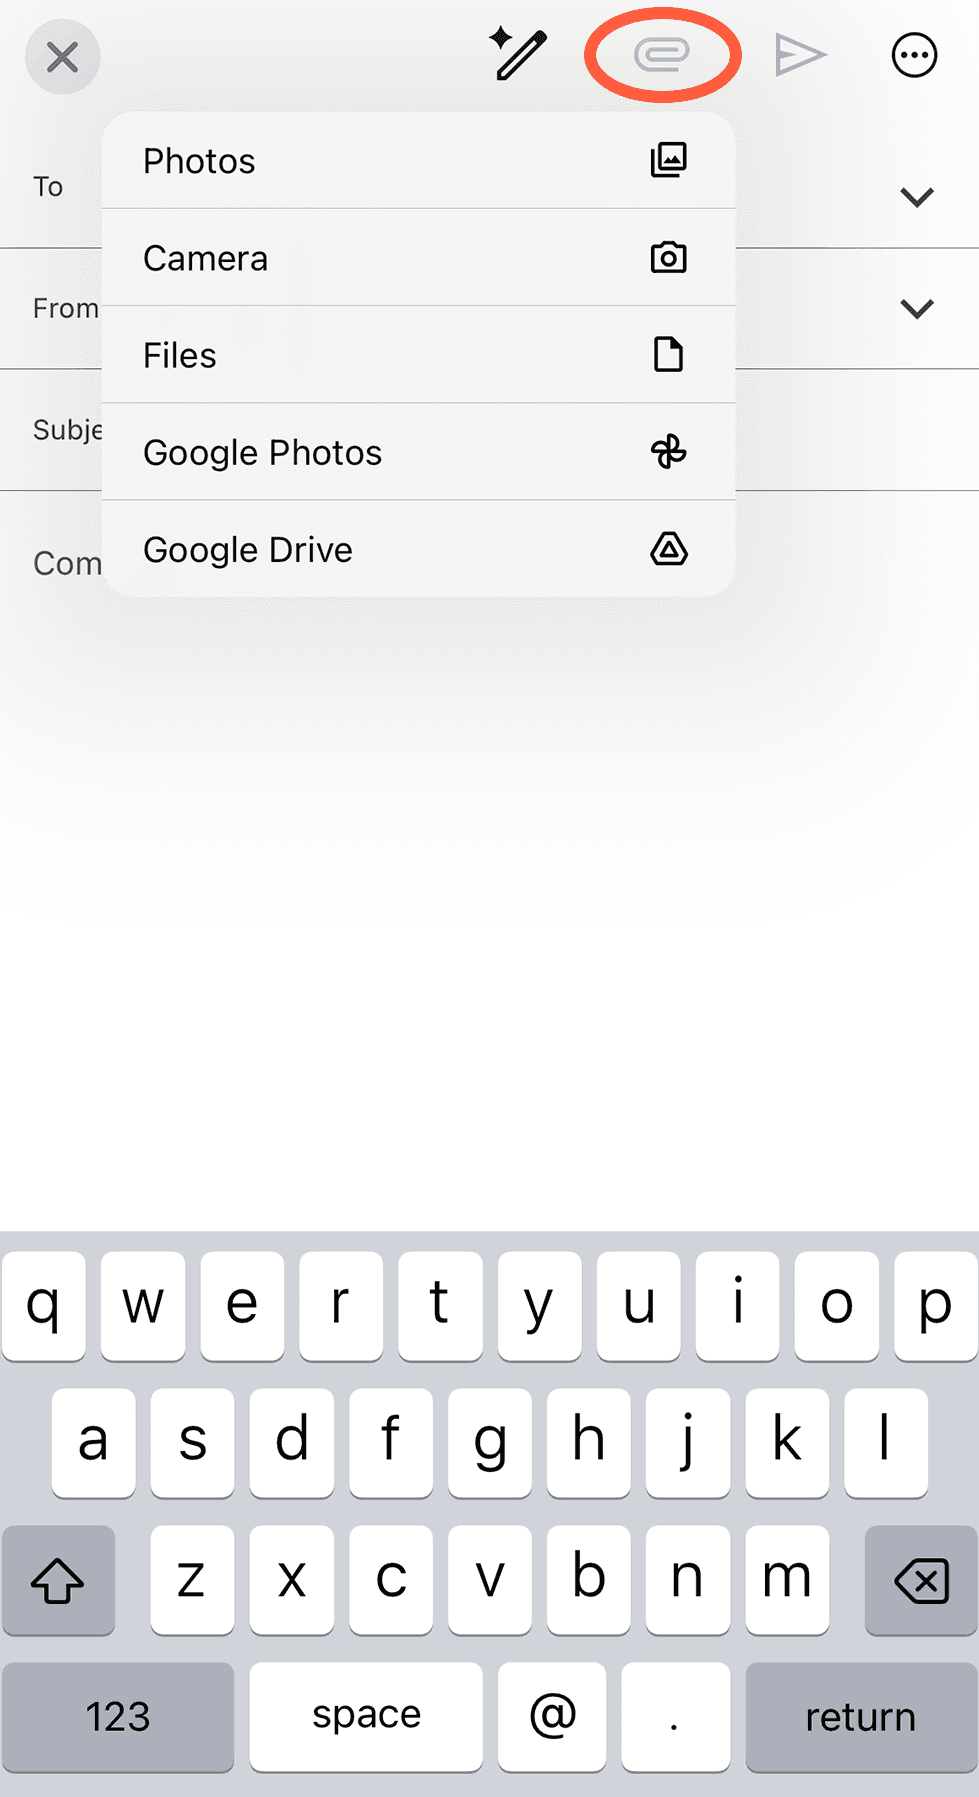
Step 1: Open the Mail or Gmail app and tap Compose.
Step 2: Tap the paperclip or photo icon depending on your app.
Step 3: Select the photo from your Camera Roll or Files.
Step 4: Wait for the upload and tap Send.
Tip: For multiple photos, select them one by one or choose Select Multiple if your app supports it.
Android (Gmail or default email app)
Step 1: Open the email app and tap Compose.
Step 2: Tap the Attach or Paperclip icon.
Step 3: Select your image from Gallery or Files.
Step 4: Once uploaded, tap Send.
Tip: Some Android devices also allow drag-and-drop attachments if you’re using a tablet with split-screen mode.
Tips for easy email attachments
- Check the file size: Many email providers limit attachments to 25 MB. If your photo exceeds this, consider compressing it or using cloud links. Business Insider notes that if you’re a Gmail user, “Google will automatically upload the files to your Google Drive account. Once uploaded, it'll place a link to those files in the email. This lets your email's recipient access the files easily.”
- Use standard formats: JPEG and PNG are universally supported. Best to skip other formats that might not display correctly for all recipients.
- Organize multiple photos: If you’re sending several images, consider zipping the files or arranging them in order in the email body.
- Always preview attachments: Make sure to check that the photo has been uploaded correctly before hitting send. And triple-check that it’s the correct photo. No one needs to see you sipping a cosmopolitan at the bar when they expect a photo of the conference keynote speaker.
Attaching a photo to an email is a basic skill that can save time and improve communication. By following these step-by-step instructions, you can confidently send photos to colleagues, friends, or clients. Remember to consider file size, format, and organization for multiple photos to ensure your emails are professional and effective. Give it a go now and get comfortable with with process.